Are you looking for a solution to restore the clarity of your helmet visor? Say goodbye to those pesky scratches that have been bothering you! This guide will show you how to remove scratches from a helmet visor quickly and easily. Whether it’s a daily commute or long rides on weekend trips, your helmet visor should always be crystal clear and free of any damage. Follow these simple steps to keep your visor scratch-free and maximize your safety on the road!
Table of Contents
How to choose the right motorcycle helmet visor?
When choosing the right motorcycle helmet visor, there are a few important considerations that you should take into account. The first is visibility: make sure the visor offers excellent peripheral vision without obstructing your view of the road ahead. It’s also important to check if the visor will fit comfortably and securely onto your helmet, as well as if it is compatible with your model of helmet.
Additionally, consider whether you need a tinted or mirrored visor for protection from glare, especially in bright sunlight. Finally, look at factors such as scratch resistance and anti-fog properties to ensure your riding experience is comfortable and safe. With these factors in mind, you’ll be able to choose the right motorcycle helmet visor for you [1]!
Why do scratches appear on your motorcycle helmet visor?
Scratches on motorcycle helmet visors can occur for several reasons. The most common cause is debris from the road hitting the visor and causing small scratches or scuffs. This is especially likely if you ride in a dusty environment or take your helmet off-road.
Lastly, some materials used in visors are more prone to scratching than others and need special care when handling or cleaning them. Taking proper precautions to protect your helmet visor will help reduce the risk of scratches and keep it looking like new for longer.
How to Remove Small Scratches from Your Motorcycle Helmet Visor?
Step 1: Find the Scratch
The first step to fixing the scratch is to find it. Place your motorcycle helmet under a bright light and look carefully for the scratch. If you can’t see it, try using a high-powered magnifying glass.
Step 2: Remove the Visor Cover
The visor cover is the plastic around the outside of your visor that protects it from scratches and other wear and tear. You’ll want to remove this before you start any work on the scratch itself. There are usually two screws on either side of the helmet, which can be removed with a small screwdriver.
Step 3: Buff Out the Scratch
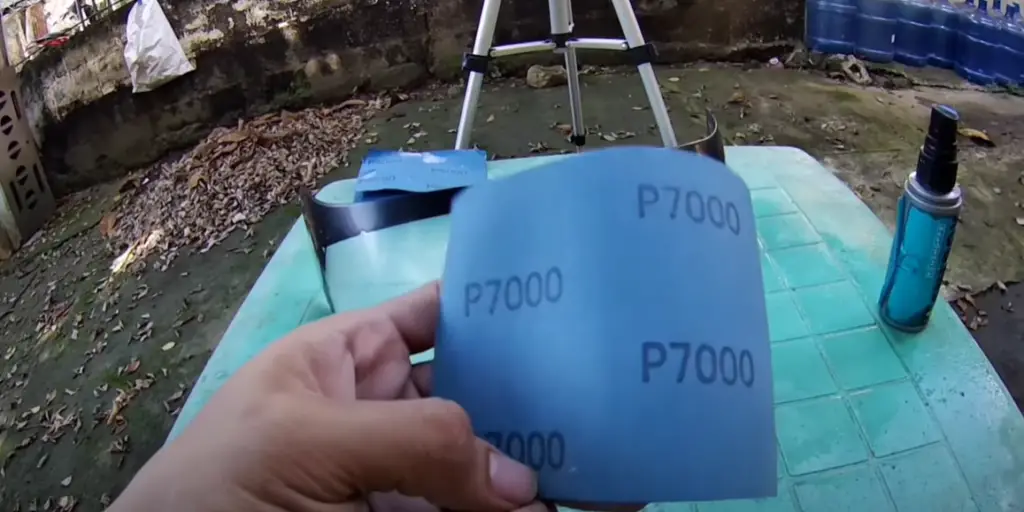
Once you have located and removed the visor cover, you can begin buffing out the scratch. A good way to do this is by using a piece of fine sandpaper or steel wool. Use gentle motions in a circular pattern to smooth down any sharp edges or jagged areas around the scratch.
Step 4: Apply a Protective Coating
Once you have finished buffing out the scratch, it’s a good idea to apply a protective coating such as clear nail polish or car wax to the area. This will prevent any further damage from occurring in the future. Apply the protective coating with a soft cloth and let it sit for at least 15 minutes before wiping it off.
Step 5: Replace Visor Cover
Once you have applied the protective coating, you can now replace the visor cover. Reattach the two screws you removed earlier, then press down firmly around all sides of the visor cover to ensure that it is secure.
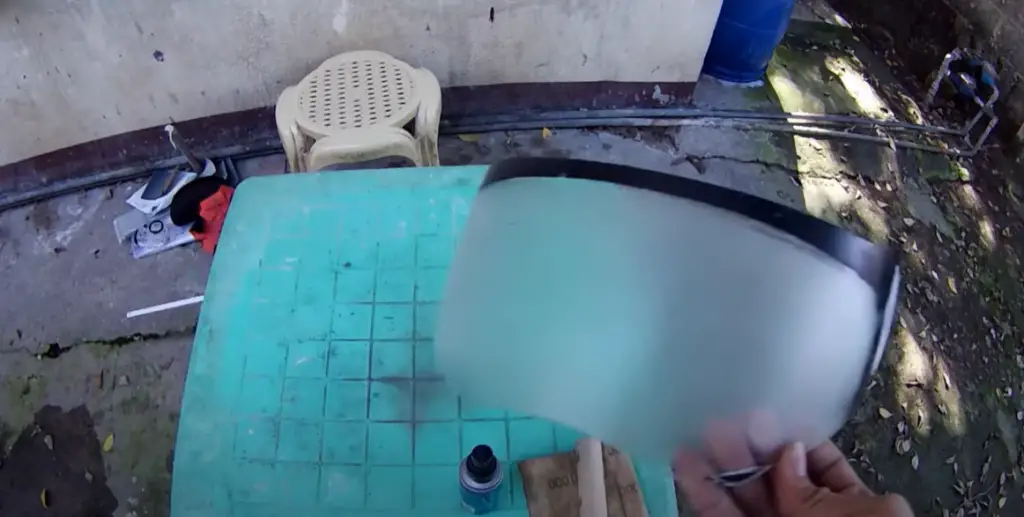
Step 6: Spray the Visor with a Waterproofing Spray
One of the final steps is to spray the visor with a waterproofing spray. This will help keep the scratch from corroding or rusting over time, and will also help protect it against any future scratches. Be sure to follow the instructions on the bottle of waterproofing spray before using it.
Step 7: Let the Visor Dry
Once you have finished spraying the visor, let it sit for about 15 minutes to give the waterproofing spray time to dry. After that, your visor should be scratch-free and ready to go!
Step 8: Test the Visor
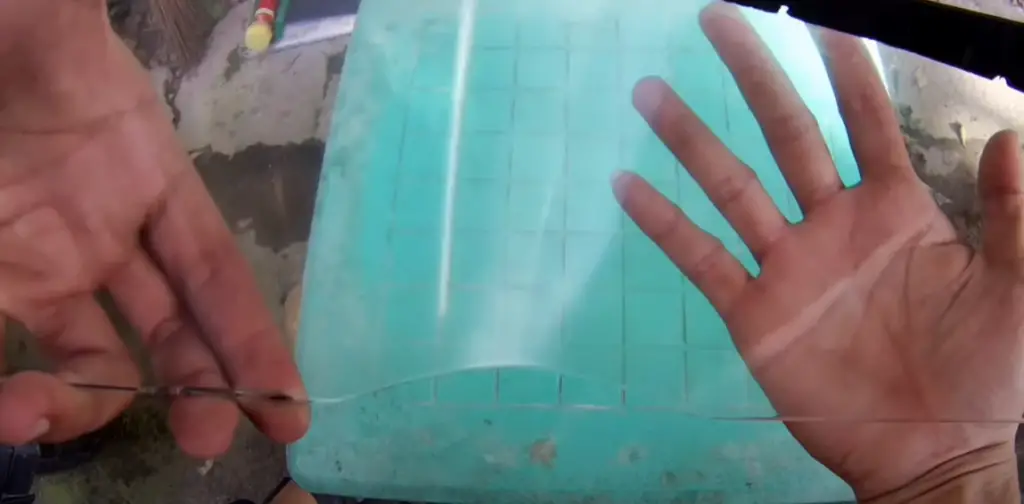
The last step is to test the visor by sliding it back and forth across a rough surface. If the visor does not snag or scratch, then you have successfully removed the scratch!
Now that you know how to remove small scratches from your motorcycle helmet visor, you can be sure that your headgear stays in great condition for years to come. Be sure to use these steps whenever you find a scratch and before long, your visor will look as good as new again. Enjoy riding safely with a clean and clear view of the road ahead [2]!
How To Prevent Scratches On Helmet Visors?
To prevent scratches on the helmet visor, there are a few simple steps you can take.
- Clean your visor regularly with a soft cloth dampened with water and mild soap. This will help remove any dirt or debris that could potentially scratch the surface of the visor.
- Avoid using any harsh chemical cleaners as these may damage the lens coating and cause it to become cloudy or foggy over time.
- Store your helmet in a clean place away from direct sunlight, which can cause fading and discoloration. Ensure that no hard objects or sharp edges come into contact with the visor while storing it.
- Make sure to store your helmet upside down so that dust and other particles don’t settle on the visor.
- If you are using a helmet with a detachable visor, always take it off before you start cleaning your face shield. This will help prevent scratches or damage to the visor while you’re cleaning.
- When changing the visor of your helmet, be careful not to use too much force as this can cause scratches. Always ensure that the new visor is properly fitted and secured before use.
By following these simple steps, you can help to protect and maintain your helmet visor for longer periods and avoid unwanted scratches. Proper care and maintenance can go a long way in ensuring that your helmet stays safe and looks great [3].
How do you maintain a helmet visor?
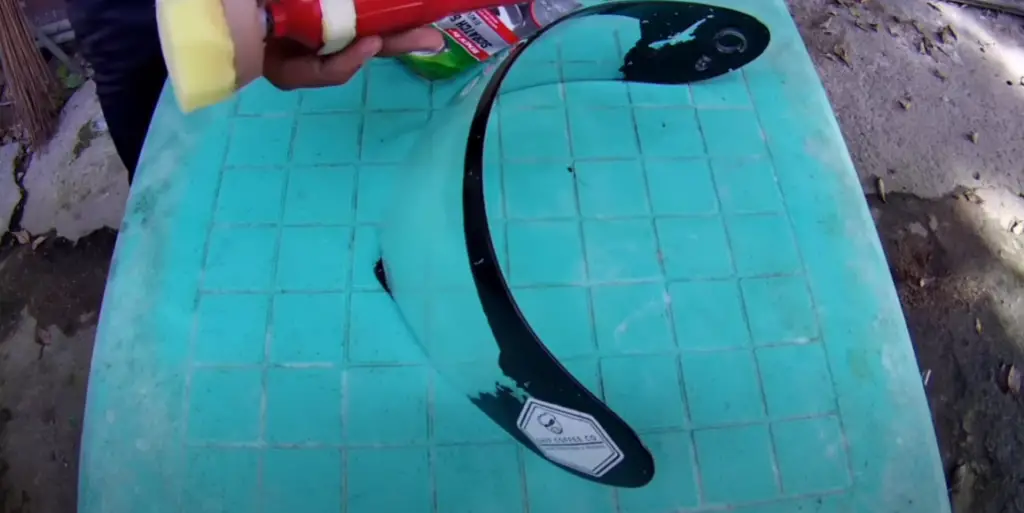
Maintaining a helmet visor is an important part of keeping it safe and providing clear vision while riding. Here are some tips for maintaining your helmet visor:
- Clean the Visor – Be sure to use only mild soap and water on your visor, as harsh chemicals can discolor or even damage the surface. Use a soft cloth and gently wipe away any debris that has been collected. Avoid using anything abrasive, such as paper towels or scrub brushes. If you have a very dirty visor, you may need to use a bit of window cleaner that does not contain ammonia or alcohol to help remove tough dirt and grime.
- Check the Visor Closure – Make sure that the closure of your visor is properly adjusted and snug. A loose or misaligned closure can cause the wind to enter through the helmet, which can be both noisy and obstructive.
- Inspect for Damage – Inspect your visor regularly for any signs of damage. Look for scratches or cracks that may have occurred due to accidental drops or other impacts. If you notice any damage, it’s best to replace the visor right away to maintain proper vision while riding.
- Replace When Necessary – If you find yourself needing to replace your visor often due to scratches, dirt buildup, or fogging issues, consider investing in a more durable replacement that won’t need replacing as often.
By taking the time to maintain your helmet visor, you can help ensure that it will provide you with clear vision and protection while riding. This can not only improve your safety but also enhance your riding experience overall.
How to customize a helmet visor?
Customizing your helmet visor is not only a great way to make it look more personalized, but it can also help you stay safe on the roads. Here are some tips to help you customize your helmet visor:
- Choose a color that matches the rest of your gear – Pick a color for your visor that complements or even matches the colors of your motorcycle jacket and pants. This will create a unified look that will both impress others and boost your confidence when riding.
- Add stickers to give it a unique look – Adding custom stickers to your helmet visor is an easy and affordable way to create an individualized look and stand out from the crowd. You can find various sizes and designs that make your visor look unique and stylish.
- Choose anti-fog and UV protection – When choosing a visor, make sure to choose one that has anti-fog and UV protection capabilities so you can ride safely without worrying about visibility or sun damage.
- Get an adjustable visor – Look for an adjustable helmet visor that can be adjusted to fit any kind of face shape or size perfectly, so it won’t move around when riding at high speeds. This will also help ensure a comfortable fit.
- Consider a tinted visor – If you don’t want too much light coming into your face, consider getting a tinted helmet visor that still allows in enough light without being too bright.
- Clean your visor regularly – To keep your custom visor looking like new, make sure to clean it regularly with a microfiber cloth and mild detergent to remove dirt and dust. Follow these simple tips to customize your helmet visor and stay safe while riding in style!
FAQ
How do you fix a scratch on a motorcycle helmet?
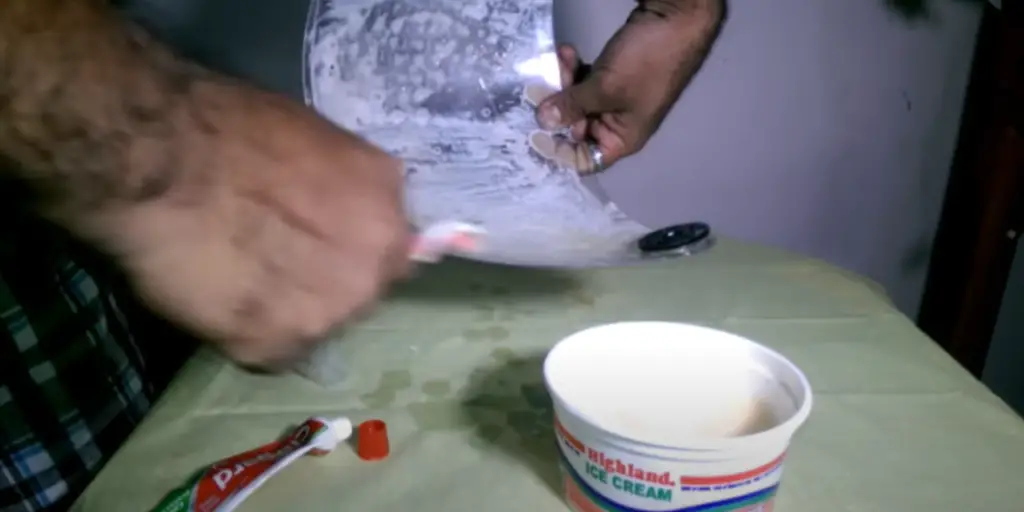
Scratches on motorcycle helmets can usually be polished out with an automotive rubbing compound or a special plastic polish. Before you begin, make sure to clean the scratched area thoroughly with warm soapy water and a soft cloth. Once dry, apply a small amount of the chosen compound or polish to a soft cloth and use it to gently buff away the scratches. Work carefully in one direction only to minimize further damage. When finished, wipe off any remaining compound with a clean cloth and check that the scratch has been removed before applying wax or other finishes for added protection.
How do you get micro scratches out of a helmet visor?
If your helmet visor has micro scratches, you can try to remove them without replacing the visor. Start by cleaning the surface of the visor with soap and warm water using a soft cloth; this will help to dislodge any dirt particles that might scratch it further. After drying it thoroughly, apply a plastic polish designed for automotive use in one direction until all of the scratches are removed. Finally, buff away any excess residue with a clean cloth before wiping it down with a protective wax or sealant. This should restore the clarity of your visor and keep it safe from further wear and tear.
What causes motorcycle helmets to fog up?
The primary cause of foggy motorcycle helmets is moisture buildup inside due to temperature changes. When you ride a bike in cold temperatures, the outside air is much cooler than the warm air inside your helmet and this causes condensation to form on the visor or other areas of the helmet. To prevent fogging, it’s important to keep your helmet clean by wiping it down with a cloth after each ride and using an anti-fog treatment like Rain-X on the interior surface. Additionally, wearing a buff or neck gaiter can help to reduce moisture buildup if you frequently ride in colder weather.
What are some tips for maintaining a motorcycle helmet?
Maintaining a motorcycle helmet properly is essential for keeping it safe and effective over time. First, make sure to inspect all straps and fastenings regularly to ensure that they are secure and undamaged. Second, take care when cleaning the helmet; use only mild soap and warm water on the exterior surface and avoid any abrasive cleaners or polishes on the inside of the helmet. Third, store your helmet in a cool dry place away from direct sunlight to prevent fading or warping of materials. Finally, replace your helmet when it shows signs of wear or damage, as this could compromise its safety features. Follow these steps for proper maintenance and you will be able to keep your motorcycle helmet in top condition for longer!
How do you polish a motorcycle visor?
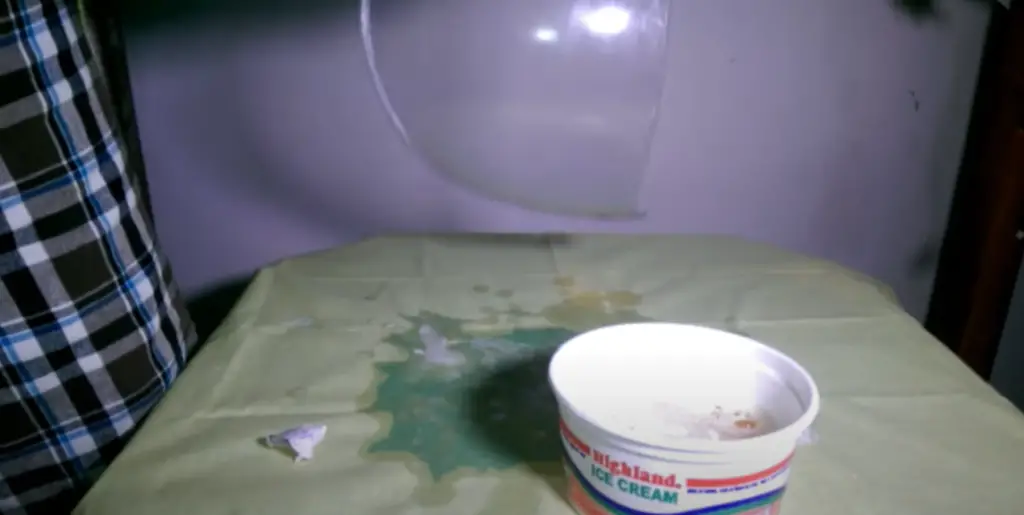
Polishing a motorcycle visor is a simple process that can help to improve visibility and reduce glare. The first step is to clean the visor with warm soapy water and a soft cloth to remove any dirt or debris; then rinse with plain water and dry thoroughly. Next, use an automotive plastic polish formulated for use on motorcycle visors, applying it in small circular motions until all of the scratches are removed. Finally, buff away any excess residue using a clean microfiber cloth before wiping down the surface with a protective wax or sealant for added protection against further wear and tear.
Is it possible to permanently remove a scratch on my motorcycle helmet visor?
Permanent removal of a scratch on a motorcycle helmet visor is possible in some cases, depending on the type and depth of the scratch. The best way to try to remove it is by using an automotive plastic polish specifically designed for motorcycle visors. Start by cleaning the surface with soapy water before applying the polish in small circular motions until all of the scratches are gone. Then, buff away any excess residue with a clean cloth and check that the scratch has been removed before applying wax or other finishes for added protection.
How do I know if the scratch is on the visor or the helmet?
If you are unsure if the scratch is on the visor or the helmet, there are a few ways to tell. First, inspect the piece closely with a magnifying glass; if it has a raised surface and small grooves, this means that it is likely to scratch the helmet. However, if it appears as a smooth indentation in the material, it is likely on the visor. Additionally, motorcycle helmets typically have two layers—a hard outer shell and an inner liner — so feel around both surfaces to see if one of them has been scratched. If none of these methods provide conclusive evidence, take your helmet to a qualified technician for professional advice.
What should I do if I can’t get the scratch out?
If you are unable to get the scratch out of your motorcycle helmet visor, there are a few steps you can take. First, if the scratch is minor and not compromising your visibility, it may be best to leave it in place and just apply a clear wax or sealant over the surface for protection. Alternatively, if the scratch is more significant or affecting your visibility, consider replacing the visor with a new one. Finally, if you have tried all other methods without success, seek professional advice from a qualified technician as they will be able to provide an expert opinion on how best to proceed.
Can you use glass cleaner on helmet visor?
It is not recommended to use glass cleaner on a helmet visor as this can damage the surface and compromise its safety features. Instead, use an automotive plastic polish specifically designed for motorcycle helmets, which will help to reduce scratches and keep the visor looking glossy and clean. Additionally, after polishing, be sure to apply a protective wax or sealant to protect against further wear and tear. In conclusion, it is important to take proper care of your motorcycle helmet to ensure that it remains safe and functioning properly. Be sure to clean it regularly with mild soap and warm water, store it away from direct sunlight, replace any damaged components promptly, and use a specialized automotive plastic polish when necessary.
Can I use alcohol to clean the helmet visor?
No, it is not recommended to use alcohol or other harsh chemicals to clean a helmet visor as this can damage the surface and compromise its safety features. Instead, start by cleaning the visor with mild soap and warm water before using an automotive plastic polish specifically designed for motorcycle helmets. This will help to reduce scratches and keep the visor looking glossy and clean. Finally, buff away any excess residue with a clean cloth and apply a protective wax or sealant for added protection against further wear and tear.
Can I clean the helmet with sanitizer?
No, it is not recommended to use sanitizer or other harsh chemicals to clean a motorcycle helmet visor as this can damage the surface and compromise its safety features. Instead, start by cleaning the visor with mild soap and warm water before using an automotive plastic polish specifically designed for motorcycle helmets. This will help to reduce scratches and keep the visor looking glossy and clean. Finally, buff away any excess residue with a clean cloth and apply a protective wax or sealant for added protection against further wear and tear.
Useful Video: SCRATCHES TO CRYSTAL CLEAR VISOR HELMET
Conclusion
Removing scratches from a helmet visor is a relatively simple task. With the right tools, like rubbing alcohol and soft clothes, it can be done quickly and easily. However, you must make sure to use cleaning products specifically designed for visors because they are more effective in removing dirt, dust, and grime than general household cleaners. It’s also important to remember to clean the helmet visor before and after each ride to ensure its longevity and clarity. Doing so not only helps keep your helmet looking brand new but also helps maximize your safety on the road. Taking care of your helmet visor is essential for maximum protection while riding a motorcycle or bike.
References:
- https://gearjunkie.com/motors/how-to-choose-the-right-motorcycle-helmet
- https://helmethacks.com/how-to-remove-scratches-from-motorcycle-helmet-visor/
- https://www.webbikeworld.com/protect-clean-visor/



Leave a Reply