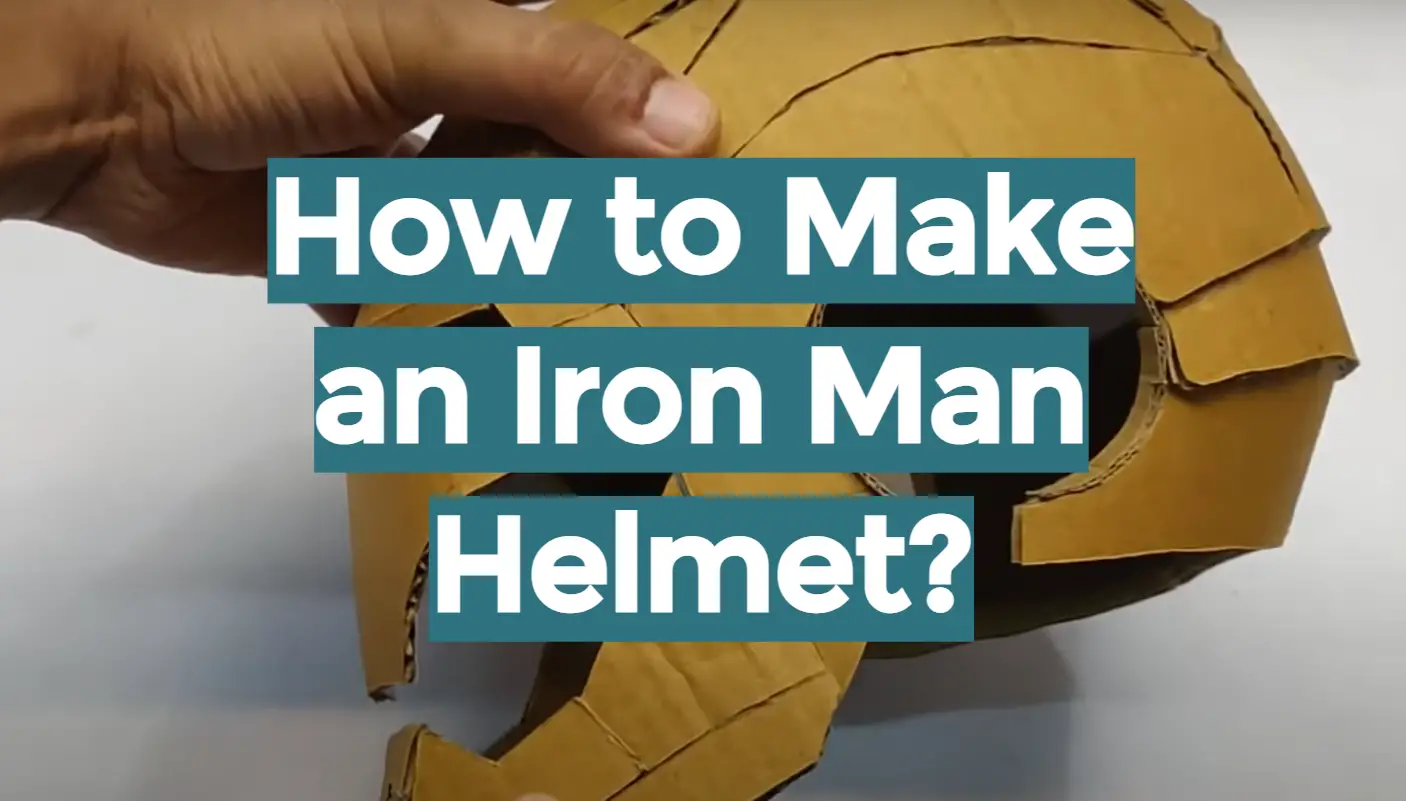
Do you want to make an Iron Man helmet? If so, you’ve come to the right place! In this article, we will answer common questions about how to make an Iron Man helmet. We will provide a full-length guide with everything you need to know in order to create your own replica helmet. So whether you’re a beginner or an experienced DIYer, read on for all the information you need!
Table of Contents
Cardboard Iron Man Helmet
Tools To Build The Helmet
The first step is to gather the tools you will need for the project. For this helmet, you will need:
- Template
- A large piece of cardboard
- A box cutter or sharp knife
- Glue Stick
- PVA Glue
- Glue Gun
- A black Sharpie marker
- Ruler
- Spray Paint
Tools To Make Eyes Light
- 6 LEDs
- Prototype Board
- AA battery holder
- Solder + soldering iron
- Wires
- Piece of plastic
- Piece of cardboard
Step-by-Step Guide
Step 1: The Templates
The first step is to find and print out the templates. You can find them by doing a quick Google search.
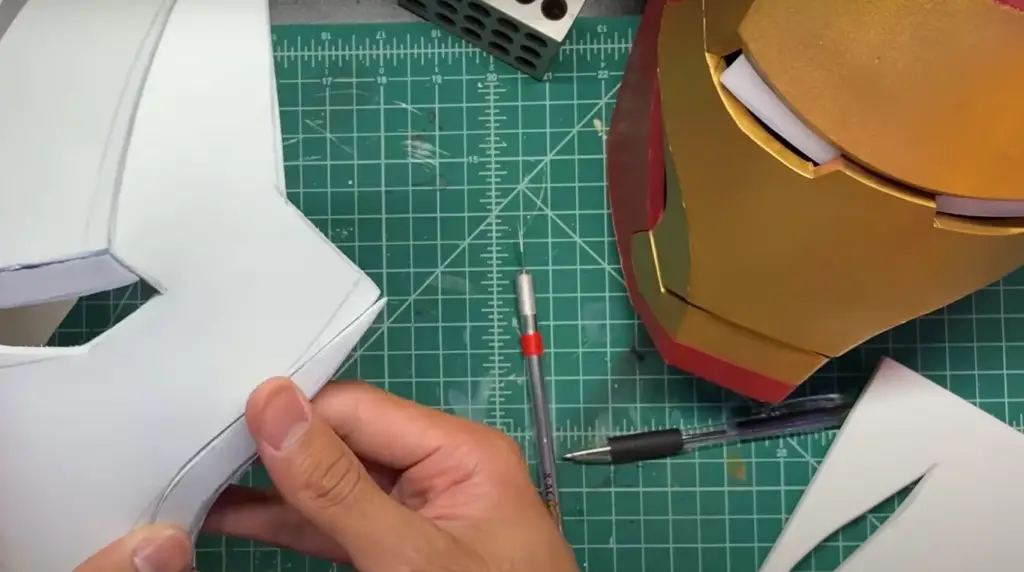
Step 2: Cutting the Parts
Once you have the templates, it’s time to cut out the individual parts.
Step 3: Creating Copies
The next step is to create copies of the parts on cardboard.

Here you’ll need to be precise and use a ruler to make sure the parts are identical to the ones you just cut out.
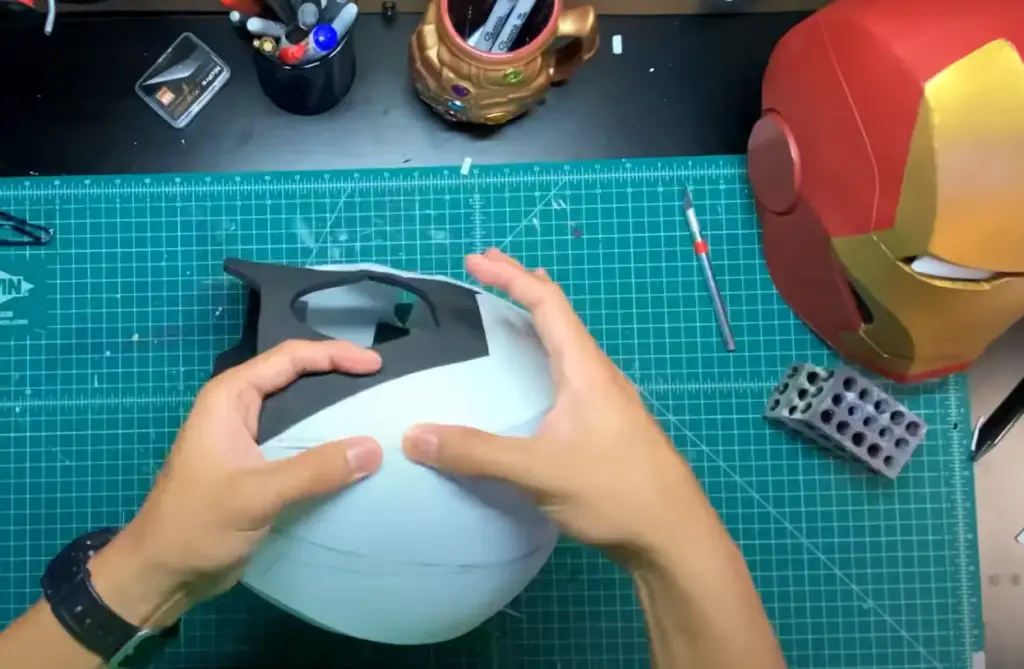
Step 4: Gluing the Pieces
After cutting copies of the parts, it’s time to glue them all together. Again, take your time with this step and make sure the pieces are aligned correctly.
Step 5: Putting PVA Glue on the Helmet
Now it’s time to put PVA glue on the helmet. This will help to make the helmet stronger and more durable. Be sure to apply the glue evenly and not to miss any spots.
Step 6: Making of Light Eyes
First trace the shape of the eye on a plastic sheet. Then, cut out the eye. Once the eye is cut out, put it on the prototype board and trace the round shape and remove the excess. Next, put your LEDs on the board, connect the pins and solder two wires to the ends of the last led. Now glue the plastic piece to the board. Then glue a piece of paper on the plastic and make a box to cover the LEDs. Do the same with the second eye.
Now connect two eyes and solder a file to the wire on the eyes and cover it with some tape, solder the end of the file to the switch and battery holder.
Step 7:Painting
Now it’s time to paint the cardboard helmet. You can use any color you want, but we recommend using a metallic paint. This will give the helmet a more realistic look.
Step 8: Final Step
First carefully cut off the back piece with a cutter.
Then take two stripes (for example from an old bag) and glue them on the back of the helmet, then attach the piece to it, so it can be openable. Finally, glue the eyes on the front side and your helmet is ready! [1]
Foam Iron Man Helmet
Tools To Build The Helmet
- Camping mat
- Sunglasses
- Glue
- Spray paint
- Scissors/ knife
Step-by-Step Guide
Step 1: The Templates
The first step is to find or create a set of templates. For our purposes, we will be using the Pepakura Designer software to turn a three-dimensional model into a printable template. You can find models all over the internet, but make sure you have the rights to use them before you start printing and cutting! [4]
There are two ways to create templates with Pepakura Designer:
- The first way is to find a three-dimensional model online (like on Thingiverse) and download it. Then, open the model in Pepakura Designer and select “File” > “Export Template.” This will give you a printable PDF of the template.
- The second way is to create a three-dimensional model from scratch in Pepakura Designer. This is a more complicated process, but it allows you to make whatever shape you want.
Step 2: Cutting the Parts
Once you have your templates, it’s time to start cutting out the parts. For this step, you’ll need a sharp knife and a cutting mat.
Start by cutting out all of the larger pieces first. It’s important to be as accurate as possible when cutting, so take your time and use a ruler or a straightedge to help you.
Once all of the large pieces are cut out, you can move on to the smaller pieces. These can be more tricky to cut out, so be extra careful.
Step 3: Assembling
Now it’s time to start assembling the pieces into a helmet. This is where the Pepakura Viewer software comes in handy, as it allows you to see how the pieces fit together before you start gluing them.
To assemble the pieces, start by applying a small amount of glue to one edge of a piece and then attaching it to another piece. Repeat this process until all of the pieces are assembled.
Step 4: Prep For Paint
Now that the helmet is assembled, it’s time to prep it for paint. This step is important, as it will help the paint to adhere better and also protect the helmet from rust.
To prep the helmet for paint, start by putting a PVA Glue all over it. This will act as a primer and will also help the paint to adhere better.
Once the PVA glue is dry, you can move on to the next step.
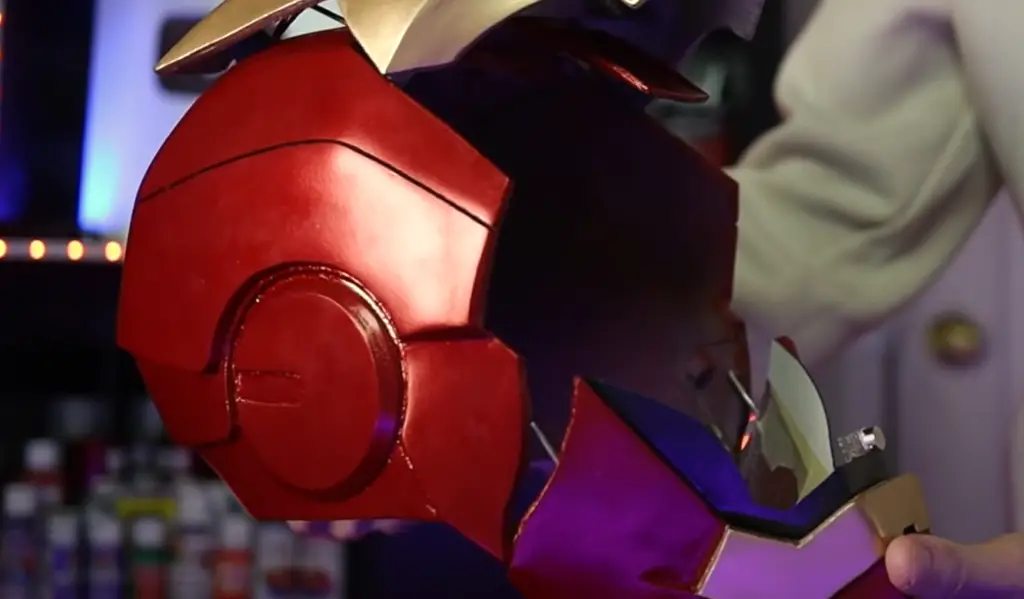
Step 5: Painting
Now it’s time to start painting the helmet. For this step, you’ll need a few cans of spray paint and some patience. Use red and gold paint to give the helmet that classic Iron Man look.
Start by spraying a thin layer of red paint all over the helmet. Once the first layer is dry, apply a second layer.
After the red paint is dry, stick the painting tape around the edge of the helmet.
This will help to create a clean line between the red and gold paint.
Now it’s time to start painting the gold parts of the helmet. Once again, start by spraying a thin layer of paint and then build up to a thicker coat.
Once the gold paint is dry, you can remove the painting tape.
Step 6: Lenses
The final step is to add the lenses. For this, you’ll need old sunglasses and some clear packing tape.
Start by cutting the lenses out of the sunglasses. Then, use the packing tape to attach them to the front of the helmet. [2]
And that’s it! You now have a complete Iron Man helmet.
Iron Man Electronic Faceplate
Tools To Build The Helmet
- Darlington High Power Transistor
- 7.2V Battery
- MG996R
- Resistor 1k ohm
- Resistor 2.21k ohm
- Side Switch
- Arduino Nano R3
- CHQB 3 Pin IR Sensor
- LED light for Eyes
- 3D Printed L Hinge
Step-by-Step Guide
Step 1:Print The Helmet with 3d printer
This is by far the most important step, as a poorly printed helmet will not look nearly as good as one that’s been properly made.There are plenty of ways to get hold of a template, but the easiest is to find one online. Once you have your template, it’s time to start printing.
Step 2:Print The Hinges
Print the STL files for the hinges. It is important that these parts are printed as accurately as possible, so take care to calibrate your printer before beginning.
Be careful not to damage the delicate parts of the hinges!Step 3:Print The Custom L Hinge
This is the most important step in the entire process. Without a properly printed L hinge, your helmet will not open correctly.
There are two ways to print the L hinge. The first way is to use a regular printer and print out the template onto cardstock. Then, cut out the L hinge with an X-Acto knife.
The second way is to use a laser cutter. This is the recommended method, as it will produce a cleaner and more accurate cut.
To use a laser cutter, first download the template file. Then, send the file to a local print shop or online service that offers laser cutting. Be sure to specify that you want the L hinge to be cut out of acrylic.
Step 4: Attaching
The faceplate is what will give your helmet that iconic Iron Man look. To attach it, first measure out the center of your helmet and mark it with a pencil. Then, use a drill to make two pilot holes on either side of the center mark. Next, screw in two small screws to secure the faceplate in place.
Step 5: Wiring
After the electronics are in place, it’s time to start wiring. This is where things can get a little tricky, but with a little patience and attention to detail, it can be done.
After connecting the wires to the appropriate places, it’s time to start testing.
Once everything is up and running, you can sit back and enjoy your very own Iron Man helmet! [3]
FAQ
What is Ironman’s helmet called?
Iron Man’s helmet is officially called the “Mark XLVIII” or the “Hulkbuster” helmet.
How do you make yourself see through LED eyes?
The easiest way to make your eyes light up is to buy some LEDs and wire them into the back of the helmet. You can also buy special Iron Man lenses that have LEDs built into them.
How do you put LED lights in cosplay?
You can wire the LEDs directly to the battery pack, or you can use a controller to manage them. If you’re using a controller, you’ll need to solder wires to the positive and negative sides of the LED. Then, connect those wires to the controller. Most controllers will have a spot for ground and a spot for power. Once the wires are connected, you can tape or glue them down so they don’t move around.
Now it’s time to put the battery pack in the helmet. You can either sew it into the lining of the helmet, or you can hot glue it in place. If you’re using a controller, you’ll need to thread the wires through the helmet so they reach the controller. Once everything is in place, you can turn on the power and test the LEDs. They should light up! If they don’t, check your connections and make sure the wires are touching the correct spots on the controller.
How do you create an Ironman template?
First you’ll need to find a good image of Iron Man’s helmet. This can be found by searching for “Iron Man Helmet” on Google Images. Once you have found a good image, save it to your computer.
Next, you’ll need to create a template for your helmet. You can do this by using any word processing or design program to trace around the outline of the helmet. Once you have your template, print it out and then use it to trace around onto some sturdy cardstock.
How do you size a 3D printed helmet?
There are a few things you need to take into account when sizing your helmet. First, you need to know the dimensions of your head. You can either measure this yourself or find an online size chart. Once you have your measurements, you need to adjust for the thickness of the foam that will line the inside of the helmet. Finally, you need to take into account the fact that the helmet will need to be able to open and close. This means that you’ll need to leave some extra space around your head so that you can put the helmet on and take it off without difficulty.
Once you have your measurements, you can begin scaling them up or down to create a model that is the right size for you. There are a few different ways to do this. You can use a program like Blender or Fusion 360, or you can use an online tool like Pepakura Viewer.
Once you have your model scaled to the correct size, you can begin printing it out.
Useful Video: How to make an IRON MAN Helmet! – Easy DIY
Conclusions
Overall, the process of making an Iron Man helmet is not as difficult as it may seem at first. With a little patience and the right materials, anyone can create their own impressive replica of Tony Stark’s iconic headgear. Whether you’re looking to make a costume for Halloween or cosplay, or simply want to show off your DIY skills to your friends, making your own Iron Man helmet is a fun and rewarding experience. Thanks for reading!
References:
- https://www.instructables.com/Ironmans-Helmet-Out-of-Cardboard/
- https://www.instructables.com/Build-an-Iron-Man-Helmet-for-Cheap/
- https://create.arduino.cc/projecthub/iimc204/mk-85-iron-man-electronic-faceplate-22716a
- https://pepakura.eu/