Painting a football helmet can be a great way to customize your gear and express yourself on the field. Whether you’re looking to add some personal style or spruce up a scratched and dinged piece of equipment, painting a football helmet is an easy way to do it! In this article, we’ll answer common questions about painting a football helmet, provide product reviews and tips to help you with your project. So let’s get started!
Table of Contents
Tools That You Need To Paint Your Helmet
Before you begin, it’s important to make sure you have all the necessary tools and supplies. Here are a few tools that will come in handy when painting your football helmet:
- Paint Brushes: You’ll need to pick up several paint brushes of varying sizes, depending on what kind of design you’re creating. Make sure you get high-quality brushes to ensure a smooth finish.
- Paint: Depending on what kind of look you want, you’ll need to pick up some paint in your desired colors. Acrylic or enamel paints work best for painting helmets.
- Protective Gear: When painting the helmet, it’s important to use protective gear like gloves and goggles. This will help keep you safe while you work and also protect your skin from any chemicals in the paint.
- Sandpaper: If you want a smooth finish on your helmet, then sandpaper is a must-have tool. It helps create an even surface and will help your paint look its best.
- Primer: Before you begin painting, it’s important to use a primer to prepare the surface of the helmet. This step helps create an even layer for your paint and helps ensure that it will last. [4]
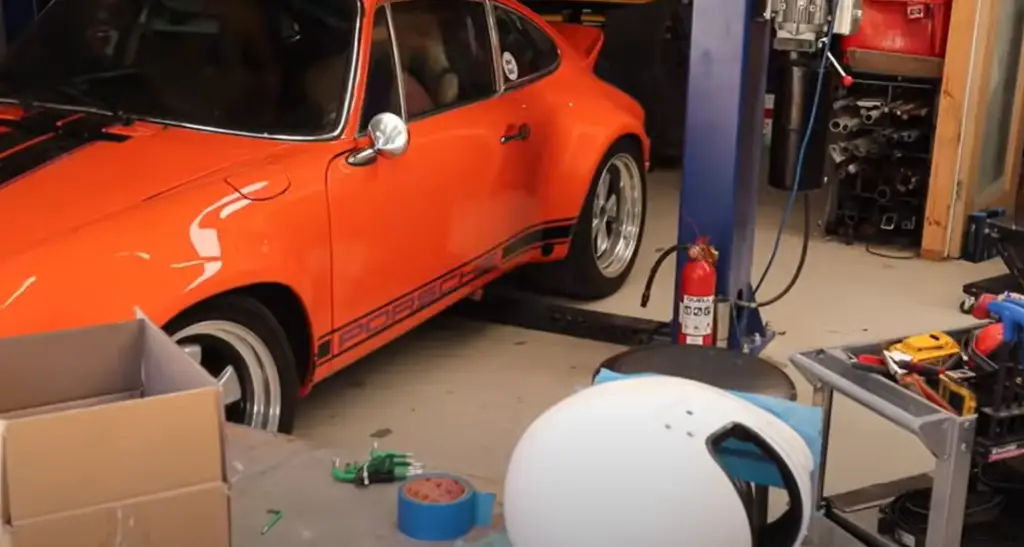
Step 1: Scrape and Clean the Helmet
Before you start painting your football helmet, it’s essential to scrape away any dirt, gunk, and residues that have accumulated on the surface. Use a scraper or an old toothbrush to do this carefully. Then use a damp cloth with some mild cleaner to wipe off the residue and make sure there is no dust left behind. [1]
Once the helmet is clean and dry, you can move onto the next step.
Step 2: Sand the Helmet
Now that you have cleaned the helmet, it’s time to sand! Using a medium-grit sandpaper and light pressure, gently sand the areas of your helmet you want to paint. This will help ensure that the paint adheres better and gives you an even finish. When sanding, make sure to cover every part of the helmet, including hard-to-reach areas like inside the vents.
Once you’ve sanded the helmet, use a stiff brush to remove any remaining dust and debris. To get rid of stubborn spots, dampen a cloth with warm water and wipe down the helmet. Now your helmet is ready for priming and painting! [1]
Step 3: Cover the Inside
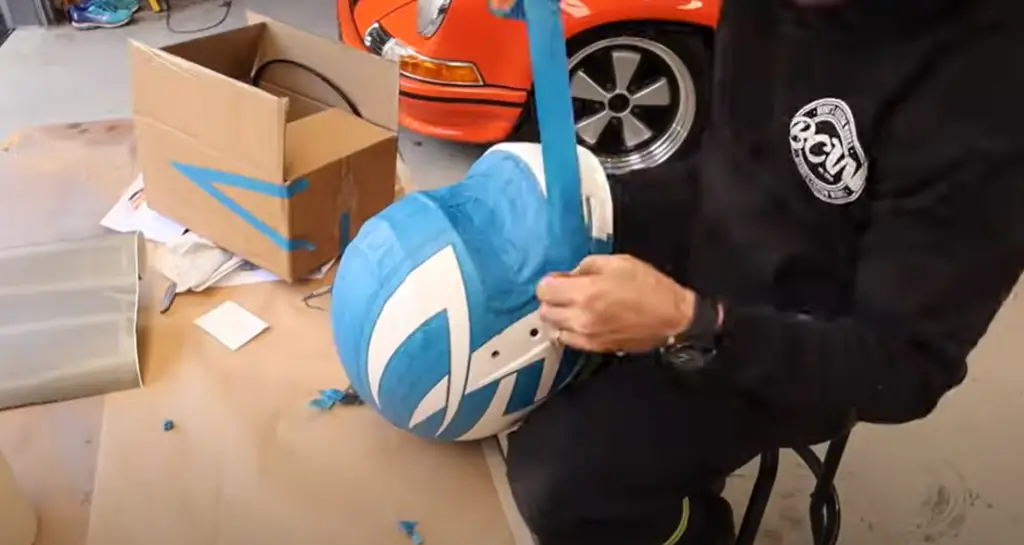
Now that you have prepped the areas you are about to paint, it’s time to cover up the inside of your helmet. Cardboard or newspaper can be used for this purpose. Taping off any area that you don’t want to be painted is also recommended. To avoid messes and drips, cover up the straps and any other small parts of the helmet with plastic wrap or newspaper. Once everything is covered up, you’re ready to start painting! [1]
Step 4: Hang the Helmet Up
Now your helmet is ready to be hung up! This can be done in a variety of ways: with a stand, a hook in the wall, or even just resting it on an open shelf. It’s important that you make sure the helmet isn’t touching anything else when you’re hanging it up. If there’s something nearby that could scratch or damage the finish, it’s best to move it away.
Finally, make sure you give the paint time to dry thoroughly before adding any decorations. Once dry, your helmet should look great and be ready for display! [1]
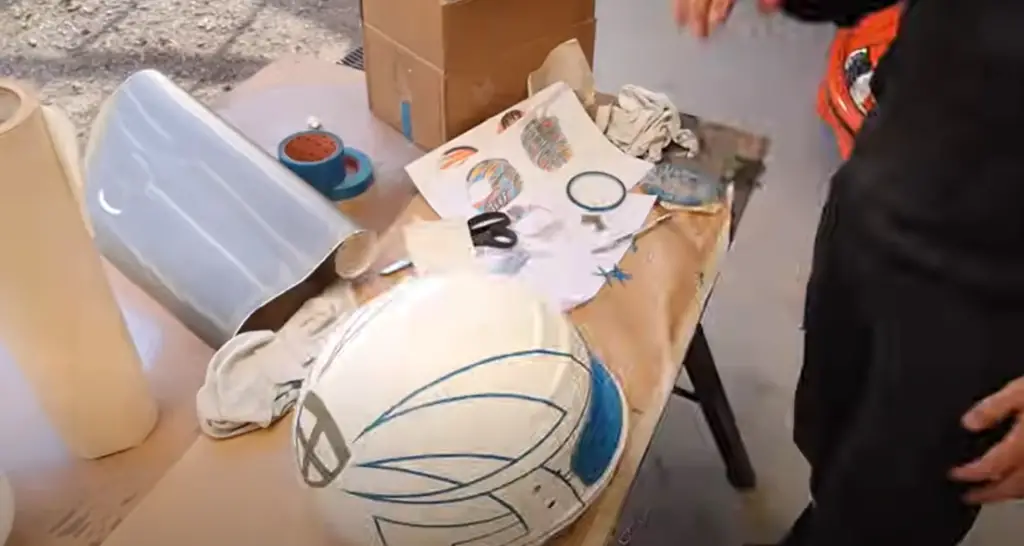
Step 5: Painting
Next up is the priming step; this is essential to ensure that your paint holds correctly on the helmet. Apply a thin layer of primer and let it sit for 10 minutes or so before moving onto the next step.
Congratulations – you’ve just painted your football helmet! Now it’s time to add the finishing touches. Depending on your design, you can use special-effects paints (like metallic or pearlescent) to really make your helmet stand out. [1]
Step 6: Polishing
Once you’ve given your helmet a few coats of paint and allowed it to dry completely, you can give it a final polish. This will help protect the paint from scratching and make sure that the colors stay bright for many years to come. Start by lightly sanding the entire helmet with 600-grit sandpaper. Once that is done, apply a thin coat of clear varnish or lacquer to the entire helmet. Allow this layer to dry and then sand it lightly with 1000-grit sandpaper for a smooth finish. Finally, apply one final coat of polish or wax to the helmet for maximum protection. Your football helmet is now ready for display! [1]
How to Correctly Paint a Football Helmet?
Painting a football helmet is easier than you might think. If done properly, it can be an enjoyable project with amazing results. Here are some tips to get the job done right:
- Make sure the surface of your helmet is clean and free from dirt and dust before painting. Sand down any rough edges or imperfections for a smoother surface.
- If you are going to use a spray gun, make sure it is designed specifically for painting helmets and that the nozzle size is appropriate for your helmet’s size.
- After priming the helmet, apply a base coat of paint in even strokes and allow it to dry completely before applying another layer.
- The next step is to apply a clear, protective finish such as urethane or lacquer to seal the paint and protect it from scratches or fading.
- If you decide to use decals on your helmet, make sure they are placed in the correct position before applying any additional layers of paint over them.
- Let the helmet dry completely before wearing it. It’s important to wear a protective face mask while painting, and make sure the area you are working in is well ventilated. [2]
How to Remove Paint From a Football Helmet?
Removing paint from a football helmet can be tricky but it is also an important part of any painting project. There are several methods for removing unwanted paint depending on the type, including chemical removers and mechanical removal.
Chemical remover is usually a commercial product that contains solvents formulated to dissolve certain types of paints. When using chemical remover, it is best to follow the manufacturer’s directions closely. Here are some tips when using chemical removers:
- Make sure that you use a product specifically designed for the type of paint on your helmet.
- Work in a well ventilated area and wear rubber gloves and safety glasses.
- Apply the chemical remover to a clean, dry cloth or brush.
- Work in small areas and only leave it on the helmet for the recommended amount of time indicated on the product label.
- Rinse off with warm water when done.
Mechanical removal involves using some type of tool to scrape away unwanted paint. Sandpaper and scouring pads are one type of tool you can use. When using mechanical removal, remember to:
- Wear safety goggles and gloves.
- Wet the area with water before beginning.
- Start by using a low grit sandpaper or scouring pad for stubborn areas and work your way up to higher grits.
- Be sure to keep the paper or pad level and move in a circular motion.
- Rinse off with warm water when done and let the helmet dry before you begin painting again. [2]
How Much Does It Cost to Paint a Football Helmet?
The cost of painting a football helmet will depend on the materials and tools you need, as well as the complexity of your design. Generally, you can expect to spend between $20-$50 for supplies like paint and primer. Additionally, if you are hiring someone to do the work for you, they may charge an extra fee for their services. [2]
How to Safely Upgrade Your Helmet?
Painting a football helmet can be an intimidating task for those who are not familiar with the process. But, don’t worry! It’s easier than it looks and with the right tools you’ll be able to give your helmet that perfect custom look.
You also want to make sure that the helmet is free of any debris or chips. Any areas with missing paint should be sanded down to create a smooth surface for painting. This will also help to keep any additional pieces from coming off while you’re working.
Finally, if your helmet has any type of plastic shell, make sure it is securely attached and free of any cracks or weak points. If the shell isn’t securely attached it will be more likely to come off during painting, leading to an unsafe situation. [3]
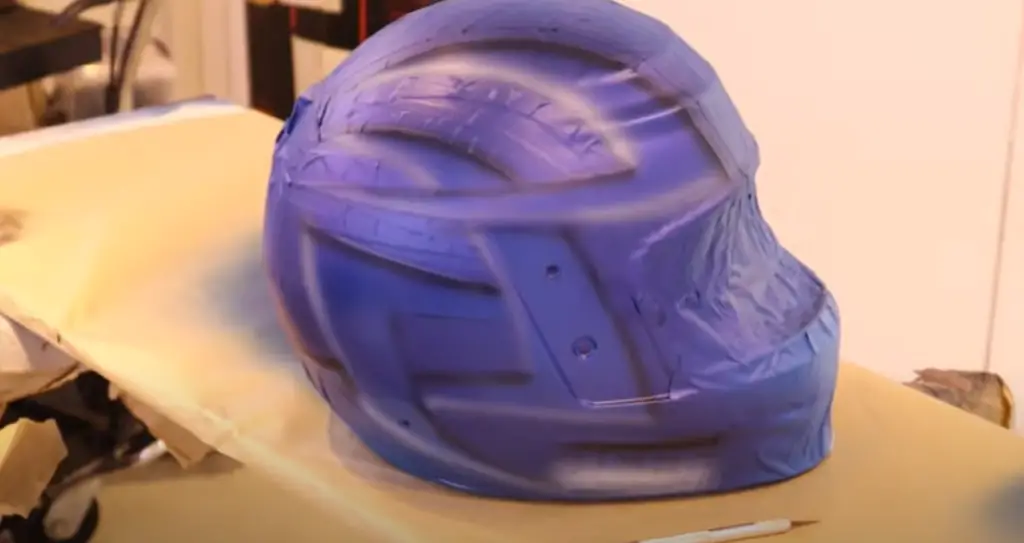
How to Spray Paint a Football Helmet?
Painting a football helmet is an easy way to customize your look and show off some of your own style. With the right supplies, spray painting a football helmet is also simple and straightforward! Here’s what you need to know:
- Football Helmet
- High-quality paint in your desired color
- Masking tape
- Safety goggles
- Drop cloth or cardboard to protect the work surface
To get started, you’ll need to prepare your helmet by washing it and removing any dirt or debris. You should also use masking tape to cover any areas that you don’t want painted, such as logos or straps. When you’re ready to start painting, make sure you put on your safety glasses and set up a drop cloth or cardboard to protect the work surface.
When you’re ready to spray paint your helmet, it’s important to use high-quality paint that is designed specifically for use on football helmets. You should also practice your technique before actually spraying the helmet, so that you know how far away to hold the can and how much pressure to apply while spraying.
Once you’ve got your technique down, you’re ready to spray paint! Start by applying a light coat and then allow it to fully dry before applying additional coats. You can repeat this process until you reach the desired look and coverage. [4]
Finally, after you’ve finished painting your helmet, make sure you remove the masking tape to reveal a stunningly customized helmet!
How To Extricate a Football Helmet’s Scratches?
If your football helmet is starting to show some wear and tear, it may be time for a little TLC. Scratches and dings can be the bane of any football fan’s existence, but you don’t have to replace the helmet just yet! With a few simple steps, you can easily remove scratches from your beloved lid.
First things first, make sure your helmet is clean and dry before you start the repair process. A gentle wipe down with a damp cloth should do the trick. Once it’s clean and dry, grab a few supplies: some fine-grit sandpaper, rubbing alcohol or acetone, a can of spray primer, and a can of spray paint, in the colour of your choice.
Start by lightly sanding around the scratch with the fine grit sandpaper. This will help to smooth out any jagged edges and create a smoother surface to work on. Be sure not to press too hard or you could end up making the scratch worse! Once it’s smooth, use a cloth or paper towel dipped in rubbing alcohol or acetone to wipe away any dust. [4]
Ideas to Paint a Football Helmet
Whether you’re looking to show your team spirit or make a statement, there are many different ways you can paint a football helmet. Here are some ideas to get you started:
- Use stencils and paint one of your team’s logos directly onto the helmet. Many sports stores also sell pre-made decals that you can just stick onto the helmet.
- Paint a design on the back of the helmet with a team’s colors to make it instantly recognizable.
- If you have basic artistic skills, try designing your own unique pattern using acrylic paints or markers. You could even use glitter or sequins to add some extra bling.
- Create a custom paint job by sponging and blending several colors together on the helmet. This is a great way to add a lot of interesting texture and depth to your design.
- Paint an entire scene onto the helmet, complete with mountains, trees, clouds, or whatever else comes to mind. [4]
FAQ
What type of paint do they use on football helmets?
Football helmets are typically painted with either water- or oil-based paints. Water-based paints offer a brighter and more vibrant finish, while oil-based paints offer a durable and long lasting finish. It’s important to select the right type of paint for the job – if in doubt, ask an expert at your local paint store for advice.
Can you paint a football helmet with acrylic paint?
Yes, you can use acrylic paint to paint a football helmet. Acrylic paints provide excellent coverage and are available in a wide variety of colors. However, they are not as durable as oil-based paints, so they may need to be reapplied more often.
What is the best way to paint a helmet?
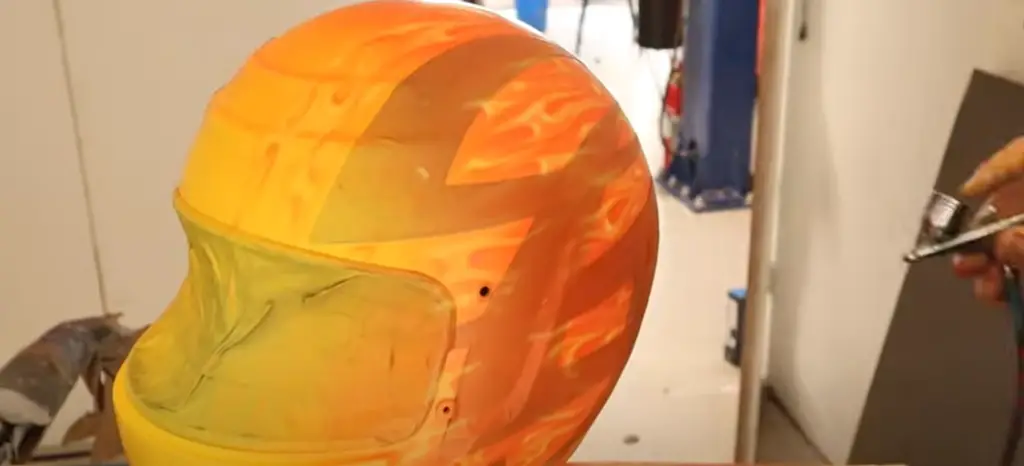
The best way to paint a helmet is to first prepare the surface by cleaning it of dirt and oils, then apply two coats of primer. Next, you can choose either an airbrush or brush-on method to apply the paint. For best results, use light strokes in a sweeping motion to give your football helmet a smooth, even finish. Finally, apply a top coat of clear paint to protect the finish.
How do you recolor a football helmet?
To recolor a football helmet, start by cleaning the surface of dirt and oils. Then apply two coats of primer and allow it to dry completely. Next, choose an airbrush or brush-on method to paint your desired color. Apply multiple thin layers, allowing each layer to dry before applying the next one. When finished, seal the paint with a coat of clear paint to protect the finish. With some practice and patience, you’ll be able to give your football helmet a professional-looking finish.
Useful Video: How Paint or Change the Color of your Football Helmet
Conclusion
Now that you know how to paint a football helmet, you can customize it to your heart’s content. You’ll be the envy of all the other fans when you show off your new paint job at the game! With the right supplies, patience, and creativity, there’s no limit to the designs you can create. So get out there and show everyone that you are the ultimate fan. Happy painting!
Thanks for learning with us today – we hope it was a helpful and informative experience! If you have any further questions or would like to share your own experiences when it comes to painting football helmets, feel free to leave a comment below. We’d love to hear from you.
Good luck with your football helmet painting project! Now go out there and show off your amazing designs. Go team!
References:
- https://www.textbookpainting.com/how-to-paint-a-football-helmet-in-6-easy-steps/
- https://housekeepingbay.com/how-to-paint-a-football-helmet
- https://www.greengridiron.com/blogs/heads-up/to-paint-or-not-to-paint
- https://livesportsreviews.com/how-to-paint-a-football-helmet/




Leave a Reply